
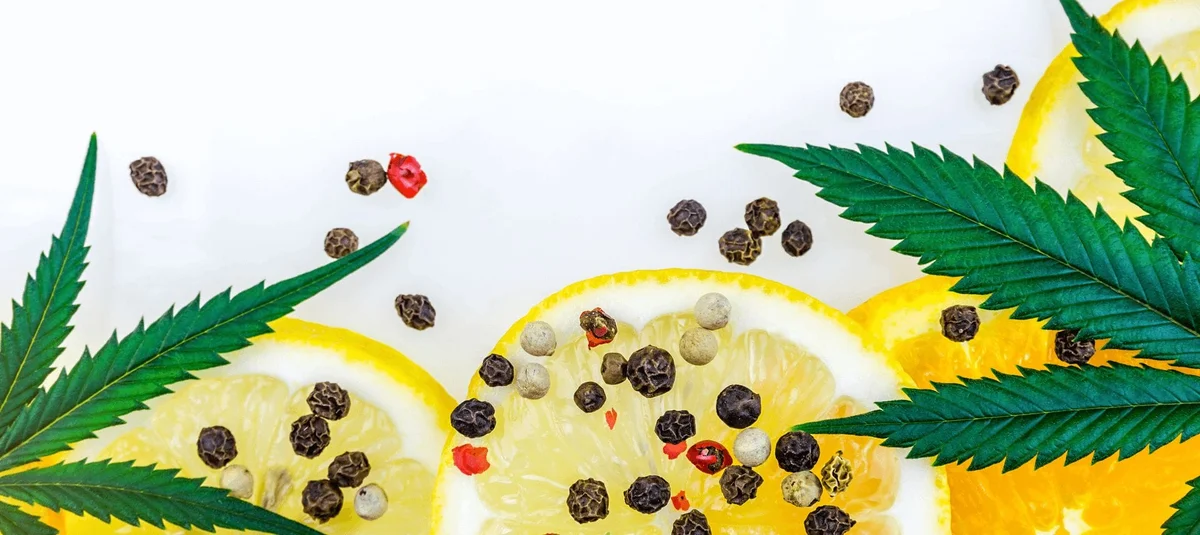
Are you looking for a good cannabutter recipe to make a cake for a friend’s birthday? Are you tired of smoking your weed? Or are you just in the mood to be creative and try something new?
If so, we have the perfect recipe for you. We have also compiled a list of tips and tricks for making and consuming cannabutter, as well as expert knowledge of the chemical processes involved in cooking cannabis.
Read on to find out how to make cannabutter for edibles with our simple recipe.
WHAT IS CANNABUTTER?
In essence, cannabutter refers to butter that is infused with cannabis. Cannabutter can be used in baking and cooking recipes of all kinds. Or, you can simply use it as a spread on toast or a cracker.
Butter is a great medium to infuse with cannabis because THC needs fat molecules to bind to. It’s also very versatile and you can use it to turn almost anything into a tasty edible.
When making cannabutter, you want to ensure you properly infuse the cannabis with the butter using the proper methods. Doing so will allow you to truly feel the effects of the cannabis after consumption of your cannabutter.
Luckily, cannabutter is one of the simplest and most common methods used to make edibles. And you’ll be delighted to know that you don’t need to be an expert in all things food or cannabis-related to succeed in making cannabutter.
The Benefits Of Making Your Own Cannabutter
There are various benefits of making your own cannabutter.
Firstly, it’s an incredibly versatile ingredient with many uses, as mentioned previously. Not to mention it’s delicious!
Secondly, if you’re already a weed smoker, making cannabutter allows you to give your lungs a bit of a break. And if you’re not a smoker, you can still experience getting high without needing to inhale smoke.
Thirdly, you can gauge and measure your dosage yourself rather than relying on a manufacturer to do it. Making your own cannabutter allows you the chance to cater the recipe fully to your personal preferences.
And lastly, it’s easy to do despite taking a few hours. Patience is a virtue in this situation!
HOW TO MAKE CANNABUTTER: SIMPLE RECIPE
Now, let’s dive into a simple yet comprehensive recipe to make the perfect homemade cannabutter.
Ingredients
You will need to have the following ingredients for this recipe. Keep an eye on measurements.
- 1x cup of unsalted butter. Avoid fat-free butter or margarine, as the lack of fat will leave nothing for the THC to bind to. Unsalted butter, rather than salted, leaves room for more versatility when you use your cannacoction in edible recipes.
- 1x cup of water
- 1x cup of decarboxylated ground cannabis. One cup of cannabis equates to approximately 7-10g. You can choose whichever strain you prefer, whether it be indica, sativa, or a hybrid blend. We’ll discuss decarboxylation once we’ve covered the recipe.
As you can see, we’ve recommended a 1:1 ratio of cannabis to butter. However, it is up to you to use less cannabis if you desire milder effects. The 1:1 ratio is the standard, but it can be quite potent for those who are not accustomed to the effects of marijuana.
Equipment And Supplies Needed
You will require the following equipment and supplies to make cannabutter:
- Glass baking dish or sheet pan
- Parchment paper
- Oven and stove
- Saucepan (you have the option to use a stockpot, double-boiler, or slow cooker but this recipe will focus on the saucepan method)
- Mesh strainer or cheesecloth (a normal kitchen sieve will not be adequate for this kind of straining)
- Storage container for your cannabutter (an airtight, well-sealed mason jar will do just fine)
- Wooden spoon
- Cannabis hand grinder (this is optional – you can use scissors if you can’t get your hands on a grinder)
- Thermometer (this is also optional, but highly useful to monitor the temperature of your cannacoction)
Cooking Time
The cooking time for each step of the process has been highly debated. But there are general rules on which you can rely.
The ideal length of time for heating your weed flowers in the oven varies. If you’re using old, dry, or low-quality weed, heat it for 20 minutes. If your marijuana is cured and higher grade, heat it for 30-40 minutes. And if you’re using fresh, recently harvested weed that is still wet, heat it for 1 hour.
Ensure you do not exceed 1 hour to avoid burning the batch.
Keep a few things in mind regarding simmering time. The theory is that the longer your weed simmers with your butter, the stronger the resulting cannabutter will be. However, you don’t want to over-simmer, as the chlorophyll released will alter the taste of the final product.
We recommend a simmering time of 3-4 hours. We mentioned it takes patience! Low and slow is the name of the game.
Instructions
Now, onto the method. Follow these steps for a fantastic result.
Step 1: Decarb Your Cannabis
This is a crucial step that is often forgotten by the best of us. Decarboxylation will be described in detail in the next section.
Preheat your oven to 220-245°F. As we mentioned, the lower the better. But if your oven is old, you may need to heighten the temperature.
Cover your baking sheet with parchment paper. Break up your marijuana flowers loosely and spread them evenly on the lined baking tray.
We recommend gently mixing the buds every 10-15 minutes during the heating process. This allows all sides of your buds to be exposed to the heat evenly.
The color of your cannabis should shift from bright green to a deep brownish-green. This means your weed has been officially decarbed.
Step 2: Cool And Grind Your Flowers
Remove your decarbed flowers from the oven and let them cool to room temperature on the baking tray.
Once cooled, grind or break up the weed. Grinders do save time but you can also use scissors or your hands to break the weed up gently.
Be mindful of the consistency of your weed at this point. If you turn your cannabis into a fine powder, it’ll go right through the mesh or cheesecloth when you strain your mixture, ending up in your final product. This is not the goal. You want your resulting cannabutter to be as clear and clean as possible.
Step 3: Melt And Mix
Melt your butter in a pan on the stove on low heat. Add in the water at the same time and mix it well.
The water is an important factor in making sure the temperature of the butter is regulated. In other words, it helps to prevent your butter from burning.
Once your mixture is fully melted, it’s time to add your cannabis.
Simmer your cannacoction on low heat (150-180°F) for 2 – 3 hours (see cooking time recommendations above).
Using your thermometer, ensure the mixture doesn’t exceed 200°F. The mixture should never come to a full boil, as this may boil out the cannabis and ruin your batch.
Give the saucepan a gentle stir every 30 minutes or so and use these opportunities to check that your temperature remains low throughout the entire simmering process.
We advise making use of a lid to distribute the heat evenly and reduce that weedy smell we all know well.
Step 4: Strain Your Mixture
Place your mesh strainer or cheesecloth over your storage container with a rubber band to keep it in position. Pour your cannabis/butter mixture through it gently.
Discard the excess plant material contained in the mesh cloth without getting it into your final result.
Step 5: Allow To Cool
Allow your mixture to cool outside of the fridge in the storage container for approximately 30 minutes. Then refrigerate until it’s solidified. This may take a few hours, but we recommend refrigerating overnight for the best results.
DECARBOXYLATION FOR CANNABUTTER – WHY IS IT IMPORTANT?
We mentioned that the decarboxylation of your cannabis is an extremely important step in your cannabutter recipe.
The process of decarboxylation converts the inactive cannabinoids, THCA and CBDA, into their active counterparts, THC and CBD. Only once this is done does the cannabis become psychoactive.
When you smoke cannabis, the heat activates this process. When you’re making cannabutter, you will need to place your cannabis in the oven first and heat it slowly for the desired result.
If you skip this step, your cannabutter will have little, if any, of the normal effects of cannabis.
HOW TO PROPERLY STORE CANNABUTTER
Your delicious cannabutter can be stored in the fridge and it will last for approximately 3-4 weeks.
It can also be frozen, which will extend its life to 6 months.
Your storage container should be airtight. And if you can get your hands on an opaque container, even better! Light exposure degrades cannabis so a dark container will extend its life.
While your cannabutter is setting, you may notice water settling at the bottom of your container. This is normal. Simply remove the butter with a knife, drain the excess water, and place your cannabutter back in the fridge.
TIPS AND TRICKS FOR MAKING AND USING CANNABUTTER
Here are some tips and tricks to keep in mind when making and using your homemade cannabutter.
Monitor Dosage
Remember when we said that low and slow is the name of the game? This rule applies to the consumption of your cannabutter as well.
Your cannabutter’s potency is incredibly difficult to predict. There are myriad variables to consider such as the potency of the cannabis you used, how long you heated it when infusing, and the temperature at which you heated it during infusion. And none of these factors come down to an exact science.
Therefore, we highly recommend spreading ¼ or ½ teaspoon of it on a cracker or snack for your first try.
Ensure you wait at least 1 hour for the effects to kick in before you increase your dosage. Afterward, you can increase or decrease your dosage depending on how it affected you the first time.
It is incredibly easy to overdo your dosage. So many people have made the mistake of not waiting long enough for the psychoactive effects to kick in and eating more. Then they deeply regret it when the high becomes way too strong to enjoy.
A standard dosage is 10mg but start at 5mg if you’re a marijuana novice. Use an edibles dosage chart to understand what potency will work best for you.
Timing Is Everything
You’ll realize by now that making cannabutter requires time, patience, and organization.
It is crucial to set regular alarms and timers for every step of the process. Too much heat at one point will break down the cannabinoids and terpenes, which enhance the effects of cannabis. This will result in a faulty batch that doesn’t meet expectations.
Remember that butter also burns easily. So, keep an eye on this too when you’re monitoring the timing for each step in the recipe.
Don’t Overstrain
Don’t strain yourself. And don’t overstrain your cannabutter.
It’s not necessary to squeeze out every last drop of the cannabis/butter mixture when you’re straining. In truth, this isn’t a good idea whatsoever.
Overstraining will result in the addition of chlorophyll to your final product, which gives your butter a bad, bitter, planty taste. This is generally a rather unpleasant taste to encounter.
Substitutions
You may not be a huge fan of full-fat butter. So, let’s discuss some substitutes.
Although butter is ideal for the cannabis infusion, it is also possible to use coconut, olive, or another vegetable oil. As long as there are fat molecules for the THC molecules to bind to, all will be well.
Use the same ratio mentioned above when substituting butter with an oil.
Avoid margarine or fat-free butter or oil, as these substitutes will thwart the process and disallow infusion.
What To Make With Cannabutter
There are so many wonderful and delectable edibles you can make using your homemade cannabutter.
You could make the classic pot brownies. Or, if you’re not a huge fan of the weed taste, peanut butter cookies will mask that taste. You could even make a delicious canna-cake for a friend’s birthday with your special butter.
Cannabutter does not have to only be utilized for baking though. Throw it in a pan and cook a savory meal with it or add it to a warm soup on a cold winter’s night. If you substituted butter with oil, why not make a dressing to drizzle over a salad?
We recommend that you combine cannabutter and normal butter in one recipe at first until you find your preferred dosage.
What if you’re not feeling too creative but are in the mood for something stoney? Simply spread your butter on toast or a rice cake for a pleasant snack.
THE BENEFITS OF CANNABIS
You most likely are aware of this fact, but there are myriad benefits to ingesting marijuana for both your physical health and your mental health.
Many studies have shown the potential health benefits of using cannabis. These include the reduction of chronic pain, help in the treatment of anxiety, an increase in the appetite of individuals with cancer or HIV/AIDS, and an improvement in tic severity for those with Tourette’s syndrome.
There are also potential health risks of using cannabis in any form. Be aware of this and do your research before jumping right in.
Luckily, the great thing about making cannabutter is that you can adjust the dosage to your liking. As a result, you can avoid the risk of accidentally overconsuming weed and having a bad trip.
GET COOKING!
Now that you know exactly how to make your own homemade cannabutter, it’s time to try it for yourself. It’s an incredibly versatile medium for getting high and you can use it however you like!
Ensure that you have all the correct ingredients, supplies, and equipment before starting. Also clear out some time in your schedule to thoroughly and carefully work through the recipe. It takes some time, but trust us, it’s worth it!
Need some weed to get you going? Check out Embarc’s cannabis dispensaries in California. We’re here to help with all your weed needs and our friendly experts will guide you to the goods you need to start cooking!